Sensors
Sensors enhance your visibility into the system by a thousand-fold. They give you a continuous pulse on the health of your system and are absolutely worth the investment.
We have sensors that we'll be releasing soon! Until then, you can use nearly any sensor or build your own with something like a Raspberry Pi.
Creating your sensor
- Go to
Sensorsin the left hand navigation of your Project Dashboard - Click
Create Sensor - Enter a name for the sensor
- Enter a description maybe including where it is in the greenhouse
- Click
Create
This went ahead and set up everything you'll ever need for sending data to the cloud. In just a few short moments the admin of the project will receive the IoT SSL certificates needed to send data. You can now think about Setting up your hardware
You'll also need to assign notebooks to this particular sensor so it knows what notebooks it is allowed to write to.
- Click the gear next to the sensor you want to modify
- Under
Assign Notebooksselect the notebook(s) that will be managed by this sensor and click the+to complete the assignment.
WARNING
Once a notebook is assigned to a sensor you can no longer enter data manually to that notebook.
Setting up the hardware
Using the Code Generator
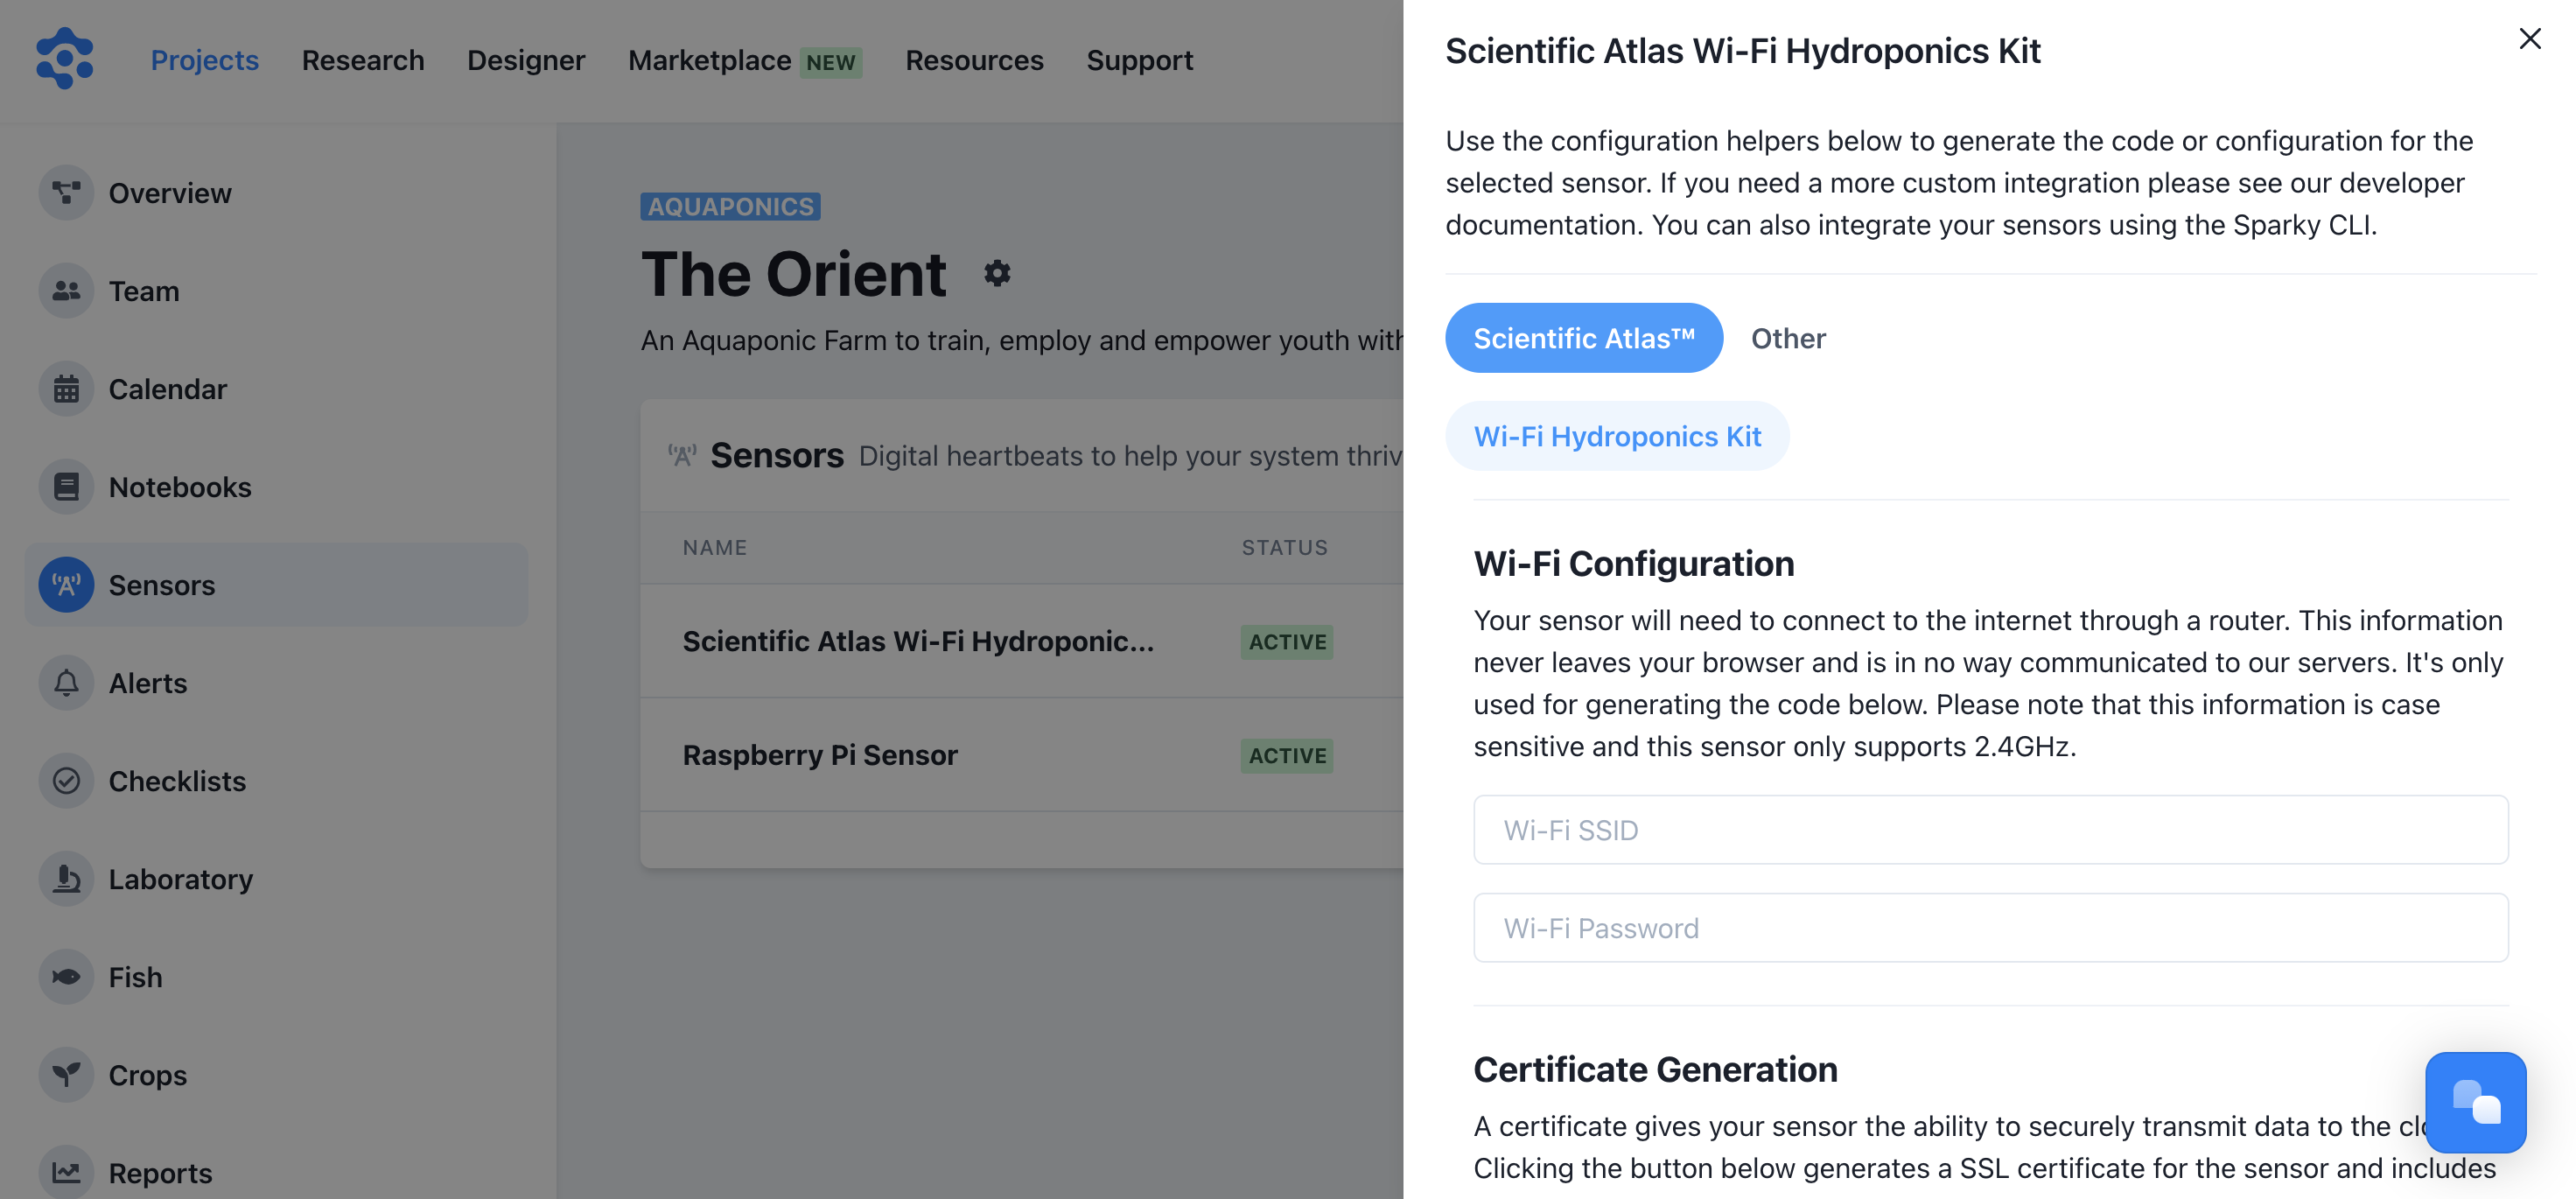
We have built code generators for various sensor kits (like the Atlas Scientific WiFi Hydroponics Kit) and it's built directly into the dashboard. Just click the Code button next to the sensor you're wanting to edit.

Then follow the instructions to generate your code and get it on your device!

Using Sparky CLI
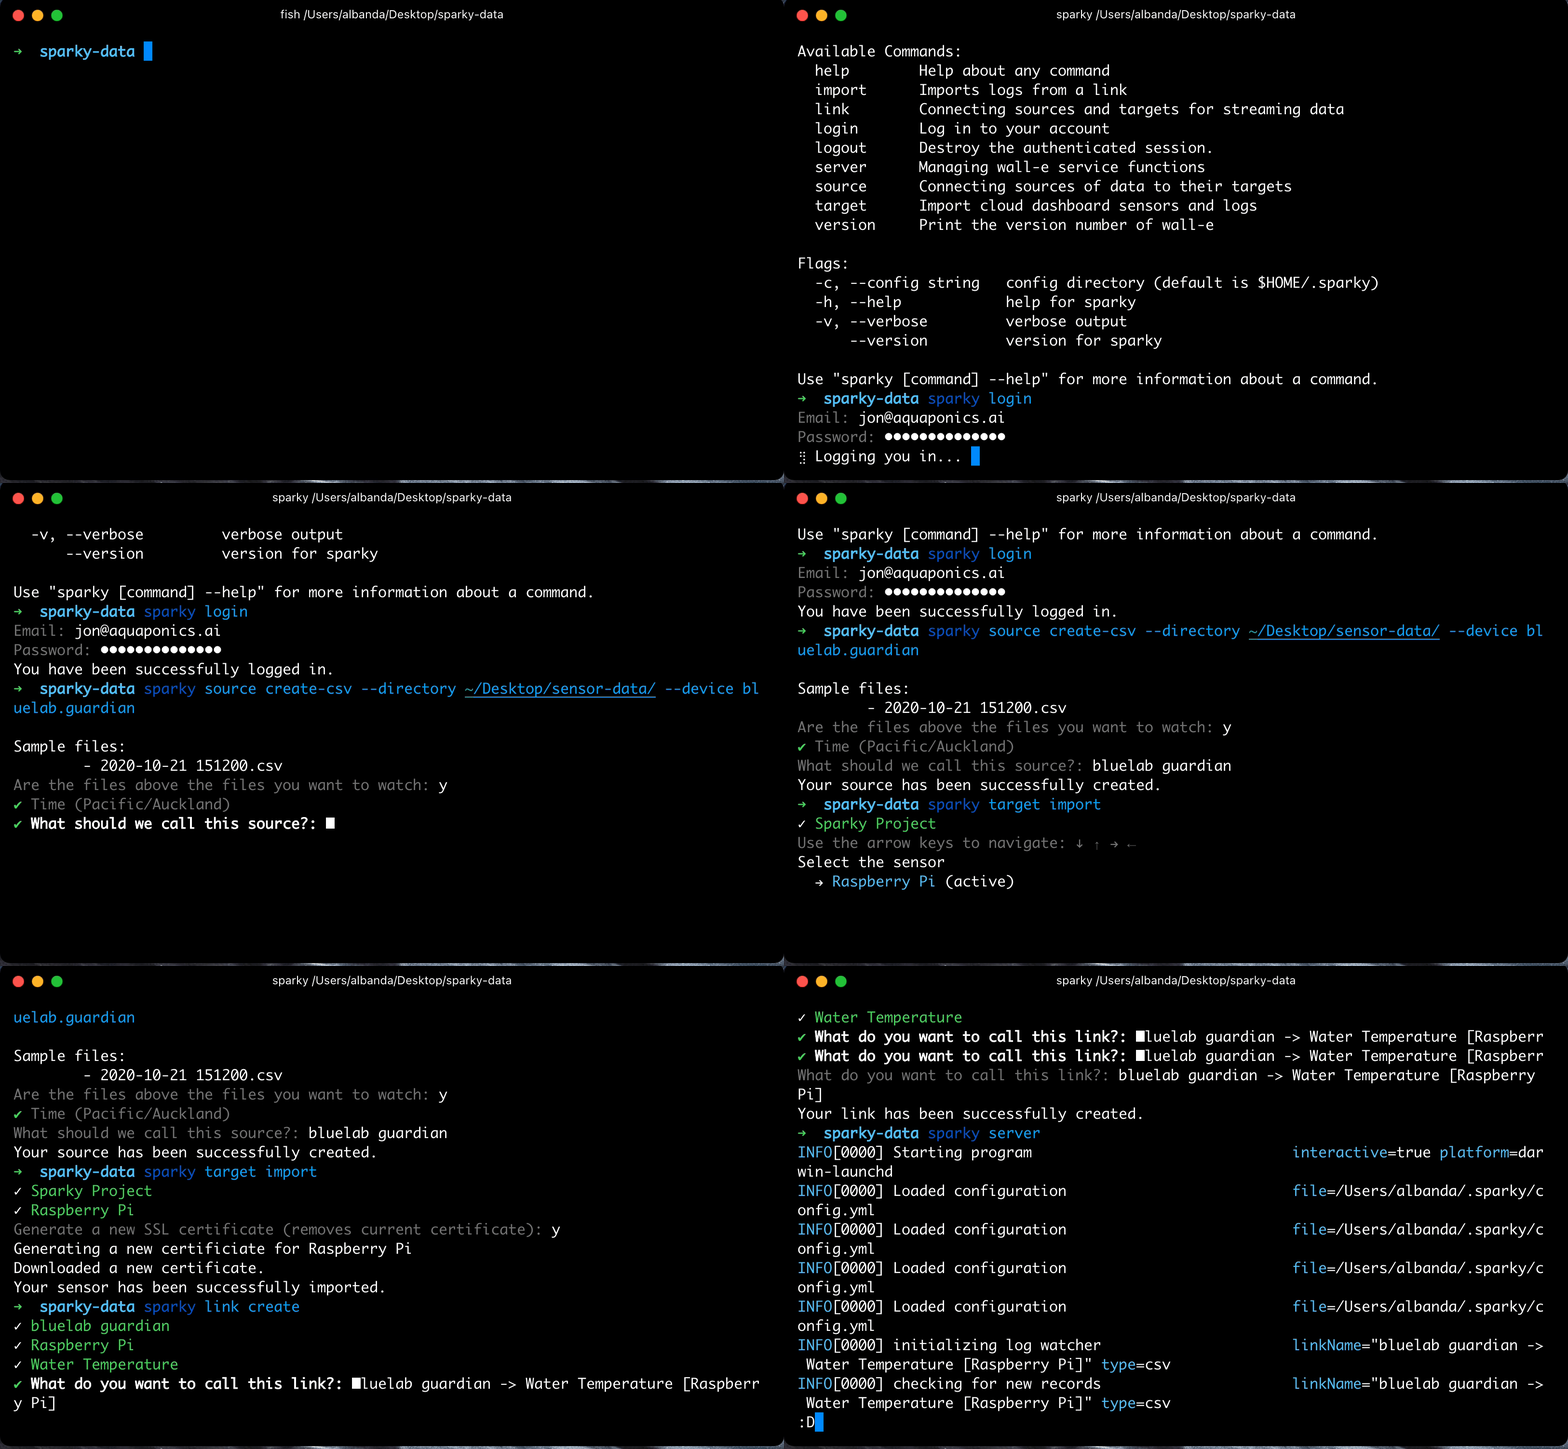
If you have a sensor already integrated, you can use Sparky CLI to relay that data to your cloud dashboard.

Using Code
If you're planning on integrating a sensor you've already created, or creating one from scratch, you'll definitely want to check out the Sensors section. You can also check out our GitHubopen in new window repos for inspiration.